Investing in anti-static floor tiles from StaticStop by SelecTech is one of the best decisions you can make for your company. Now that you’ve taken the plunge, StaticStop is excited to help you improve your business with our exceptional flooring! If you choose to complete your own installation, we have full instructions for your specific needs to ensure a proper installation. Although installing our interlocking tiles is relatively easy, there are a few things you can do to ensure everything goes smoothly.
Here are a few tips and tricks for installing your new anti-static floor, ensuring a perfect fit and maximum effectiveness.
Store the Tiles Flat
To avoid damaging the interlock system on your tiles, always store them flat on the ground, not on their sides. The tiles use a zipper system to ensure a tight fit, and storing them on their sides can distort the edges. Distorting the zipper can make installation increasingly difficult and cause further damage to the tile.
Use a Chalk Line
Often, the hardest part of installing a floor is lining everything up correctly. Snapping a chalk line ensures your lines are straight and can help simplify cutting around the edges of the room. Creating a chalk line also sets you up for a control row and prevents gaps or excessively tight seams.
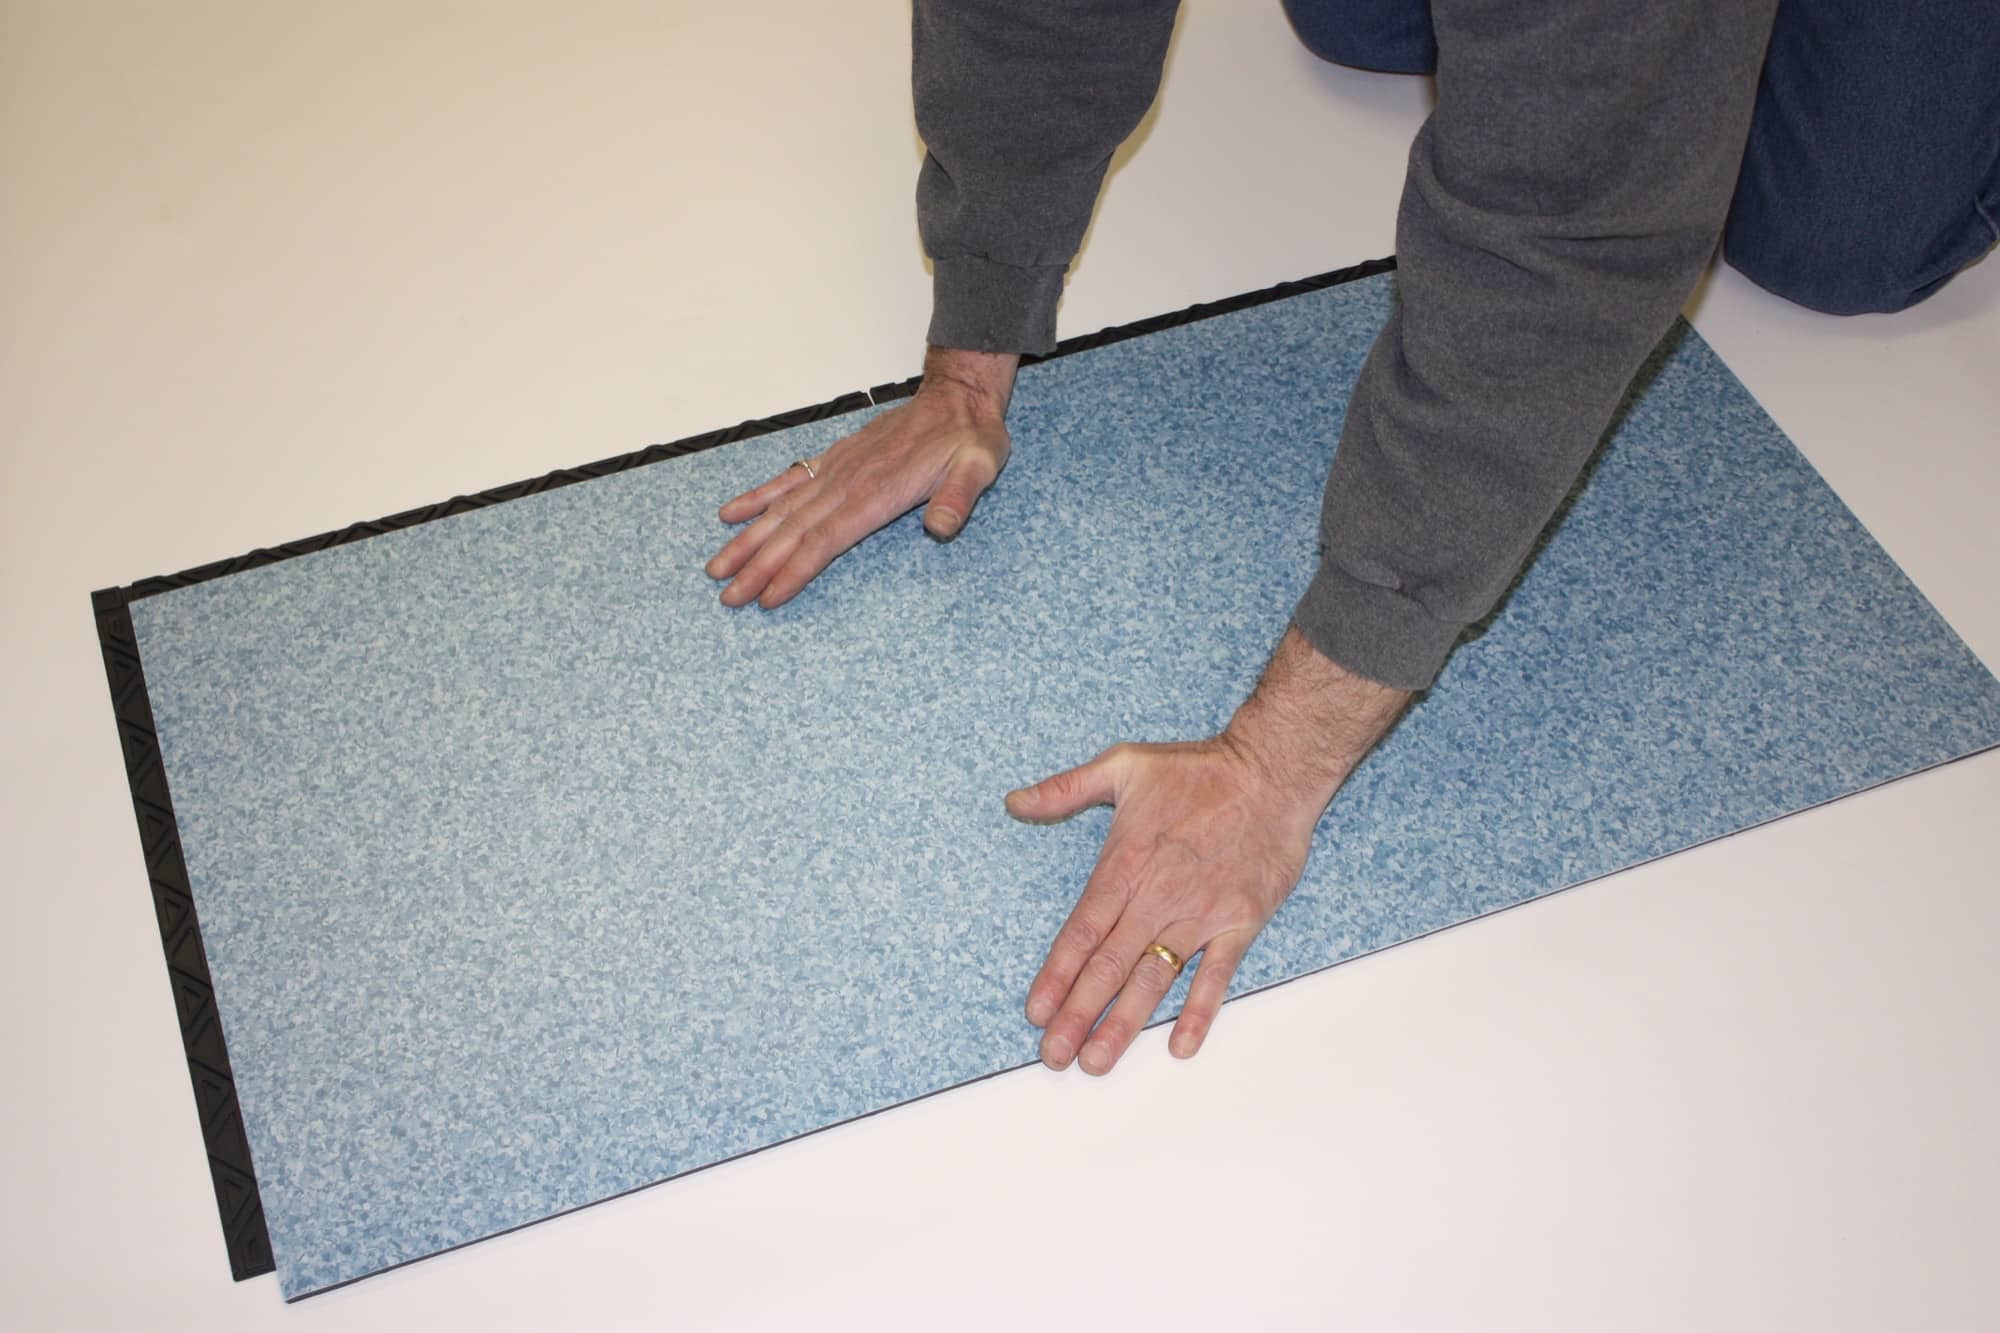
Orient the Tiles in the Same Direction
In order for your tiles to fit seamlessly together and for a proper installation, you must always be sure your next tile is oriented the same way as the previously installed tile. Orienting them correctly avoids inaccurate cuts and damage to the interlocking system.
Use a Dead-Blow Hammer
In our instructions, we mention that a rubber mallet won’t be enough to lock the tiles together. Review the list of supplies in the instructions and ensure you have all of them before beginning the installation. Using the right tools will make the entire process much easier.

Anti-Static Floor Tiles from StaticStop by SelecTech
SelecTech is the industry leader in anti-static floor tiles and flooring materials. Not only are our products the best available, but they are also easy to install and come in several colors. Our flooring products meet all your needs, both practical and aesthetic.